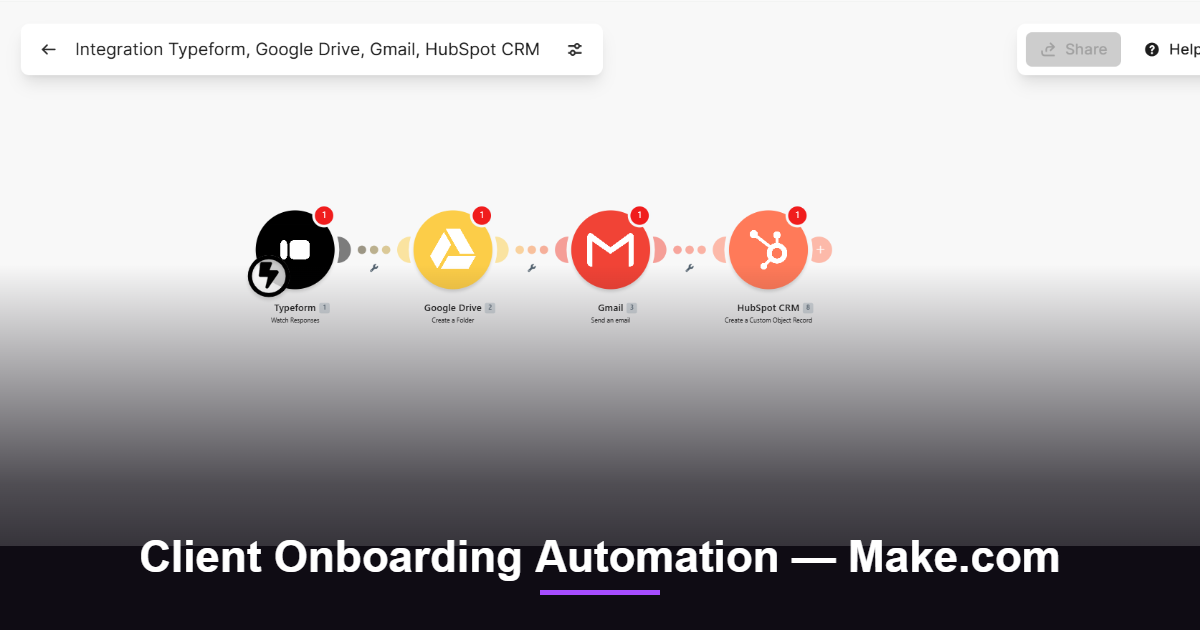
How a 3-Person Agency Automated Client Onboarding End to End (Using Make.com)
Signing a new client should take ten minutes of admin work. For a three-person agency running six active accounts, it usually takes three hours of manual clicking across eight different apps. Every time you close a deal, you are stuck copying and pasting names, setting up folders, and spinning up messaging channels by hand. It feels like progress, but it is actually just repetitive data entry that stalls your real work.
The manual onboarding problem most small agencies ignore
When you manage six active clients with just three people, small steps drop through the cracks easily. Shuttling between DocuSign, Trello, Slack, and Google Drive manually leads to simple mistakes. A misspelled client email or a forgotten shared folder slows down your onboarding process right from day one. Relying on your memory to run eight setups in a row drains your daily energy and keeps your team from focusing on actual client campaigns.
What this workflow actually does
Five modules, one trigger, and zero manual copying — here is exactly what happens behind the scenes the moment a client hits submit:
- A new client fills out a Typeform intake form →
- Make.com creates a Google Drive folder named dynamically after the client’s company →
- Make.com dispatches a customized welcome email via Gmail pulling information from the form submission →
- Make.com logs an updated, clean contact record inside HubSpot CRM →
- Make.com posts a detailed notification message directly to your internal team channel on Slack.
What you need before you build
You do not need a background in development to set this up. This entire automation runs on tools you probably already use. Everything below has a free plan.
| Tool | Role in workflow | Free plan available? |
| Make.com | The central automation canvas used to connect apps and map data fields. | Yes — 1,000 free operations per month (verified June 2026) |
| Typeform | Captures structured client records, company names, and specific setup requirements. | Yes — free plan limits you to 10 responses per month (verified June 2026) |
| Google Drive | Acts as the central repository for client files, assets, and project deliverables. | Yes — 15 GB storage on standard accounts |
| Gmail | Handles automatic dispatch of personalized onboarding emails to clients. | Yes — accessible through standard Google accounts |
| HubSpot CRM | Tracks client contact information, company records, and communication status. | Yes — free tier covers fundamental contact management |
| Slack | Alerts your team the moment a new account enters the system. | Yes — free workspace supports immediate text notifications |
Building the workflow in Make.com — step by step
To start building, open your Make.com dashboard. Click the purple button labeled Create a new scenario in the upper right corner. This opens a clean visual workspace with a gray grid canvas and a single plus symbol in the center.
Step 1 — Set up your trigger
Click the big plus sign in the center of your canvas. A search box will appear. Type “Typeform” and click the app icon, then select the trigger called Typeform — Watch Responses.
In the settings window, click Add next to the connection field. Log into your Typeform account to connect it to Make.com. Select your client intake form from the dropdown menu and click OK. You will now see the Typeform icon sitting on your canvas, ready to capture new entries.
Step 2 — Create the Google Drive folder
Hover over the right edge of the Typeform circle and click the small plus button to add your next step. Search for “Google Drive,” click it, and pick the action called Google Drive — Create a Folder.
Click Add to link your Google account. Click inside the New Folder Name box. A panel showing your Typeform data fields will pop open. Click the company name token to insert it. Type a hyphen, then select the client first and last name tokens. Click OK.
Step 3 — Send the welcome email
Click the connector on the right side of your Drive module and search for “Gmail.” Select Gmail — Send an Email. Link your email account by clicking the connection button.
Click the To field and select the client email token from the Typeform data options. In the Subject line, type something like “Onboarding initiated for” and drop in the company name token. In the Content box, type your greeting, then find the Google Drive section in your data panel and click the Web View Link token so your client receives their shared folder link automatically. Click OK.
Step 4 — Create the CRM contact
Note: Make.com shows several HubSpot record options. Select Create a Record specifically — not Create a Custom Object Record, which appears just below it in the list.
Click the node on the right of the Gmail circle. Search for “HubSpot” and select HubSpot CRM — Create a Record. Connect your account, then set the Object Type dropdown to Contact. Click the Email field and map the email token from your form. Scroll down to fill out First Name, Last Name, and Company Name using the matching tokens from your intake form data. Click OK.
Step 5 — Notify your team on Slack
Click the right edge of the HubSpot module for your final step. Search for “Slack” and choose Slack — Create a Message. Authorize your team workspace. Choose your operations channel (like #client-onboarding) from the dropdown list.
In the Text box, type a clear team alert like: “New account initialized: [Company Name]. Folder link: [Web View Link]. Kickoff date: [Launch Date].” Click OK.
What this looks like when it runs
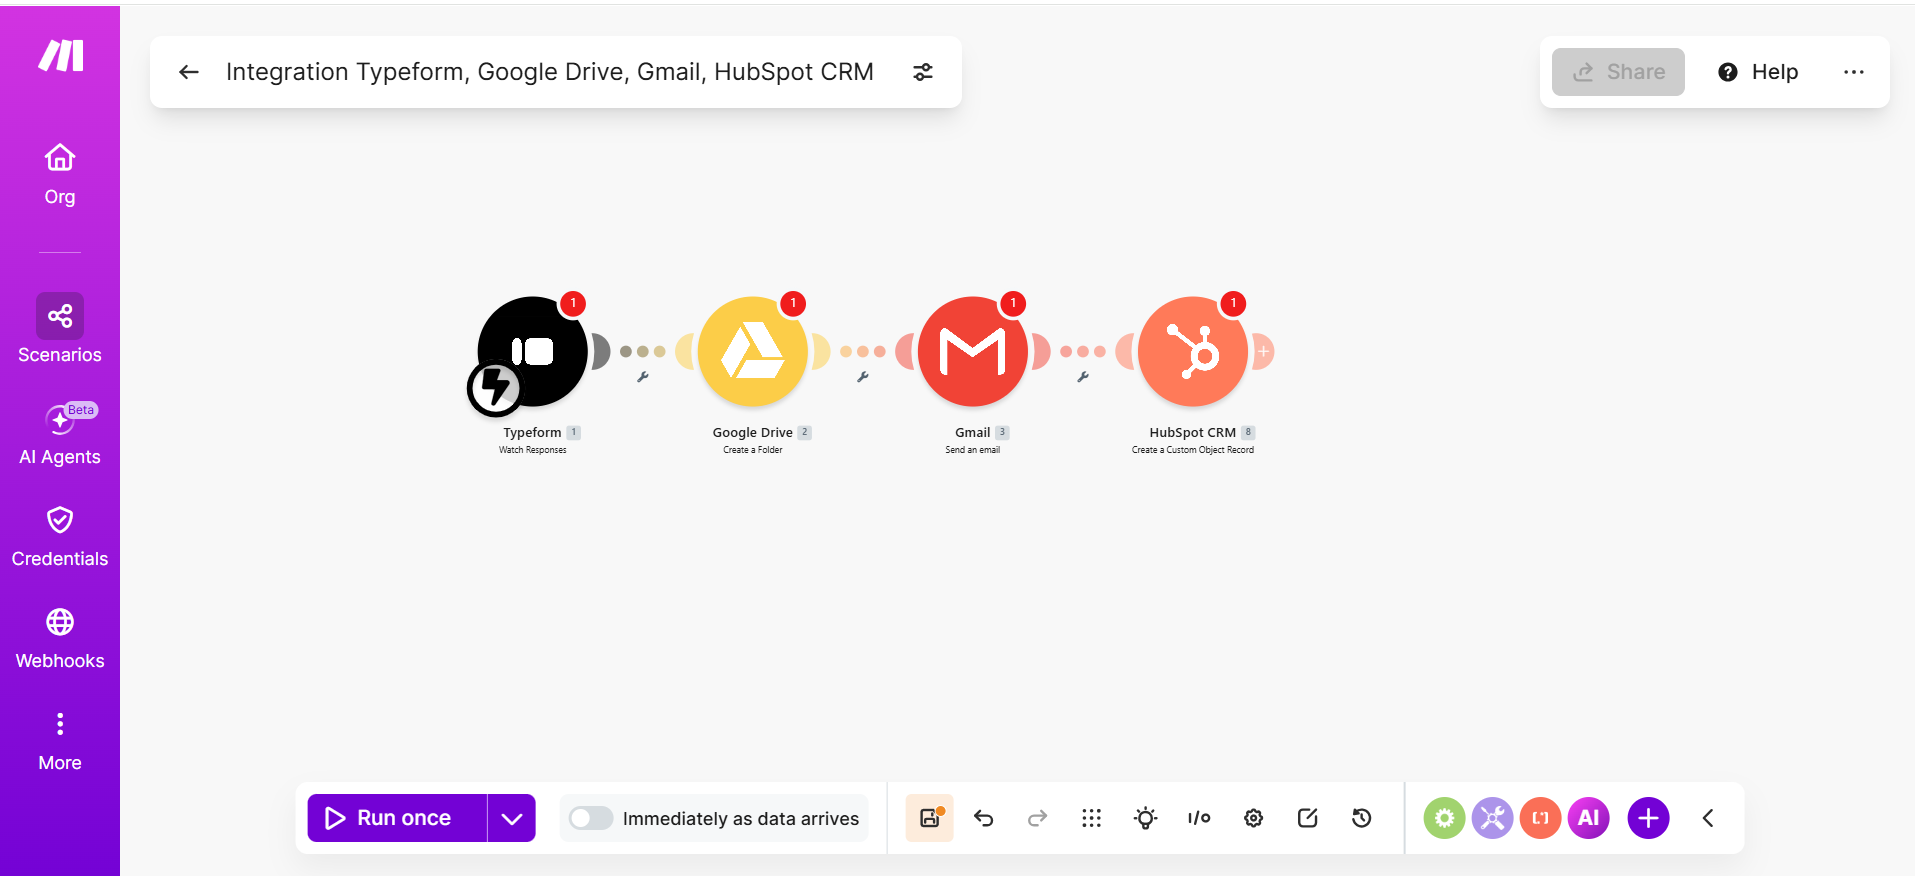
The screenshot above shows the four-module canvas after setup. When a live form entry comes in, green status bubbles light up over each icon as they process. The system creates the folder, sends the welcome email, records the CRM contact, and drops a notification into Slack in under five seconds. You get an organized workspace ready for the new client without lifting a finger.
What to add next (once the basics work)
- Automated Contract Generation: Add a DocuSign step right after your CRM module to fill out standard agreements with form data and send them out for signatures automatically.
- Project Board Initialization: Insert a Trello step that copies a master project template, names it after your new client, and populates your tasks instantly.
- AI-Generated Kickoff Preparation: Connect an OpenAI module to read your raw intake answers and write a tailored kickoff agenda straight into your Slack channel.
The honest limitations
Automating these steps saves hours of copying and pasting, but it will not replace actual project management. This workflow runs exactly what you set up, nothing more. It cannot read messy formatting or figure out unclear answers. If a client mistypes their email address or skips a required field, Make will process that broken data anyway — which means you will still need to manually fix things in your CRM afterward.
Because this relies entirely on API field connections, it can break if you make changes later. If you edit your intake questions or rename fields inside Typeform, the links inside Make will stop working until you go back in and re-map the data tokens manually. You will still need to handle your primary invoicing setup inside Wave and lead your own strategic kickoff calls.